SunPal Energy
Solar Panel Installation
Solar Panel Installation
A Solar Power System
With solar panels, you can offset your energy costs, reduce the environmental impact of your home and contribute to energy independence, as well as support local businesses. If you're thinking about installing solar panels on your home but not sure how it works, then read on!
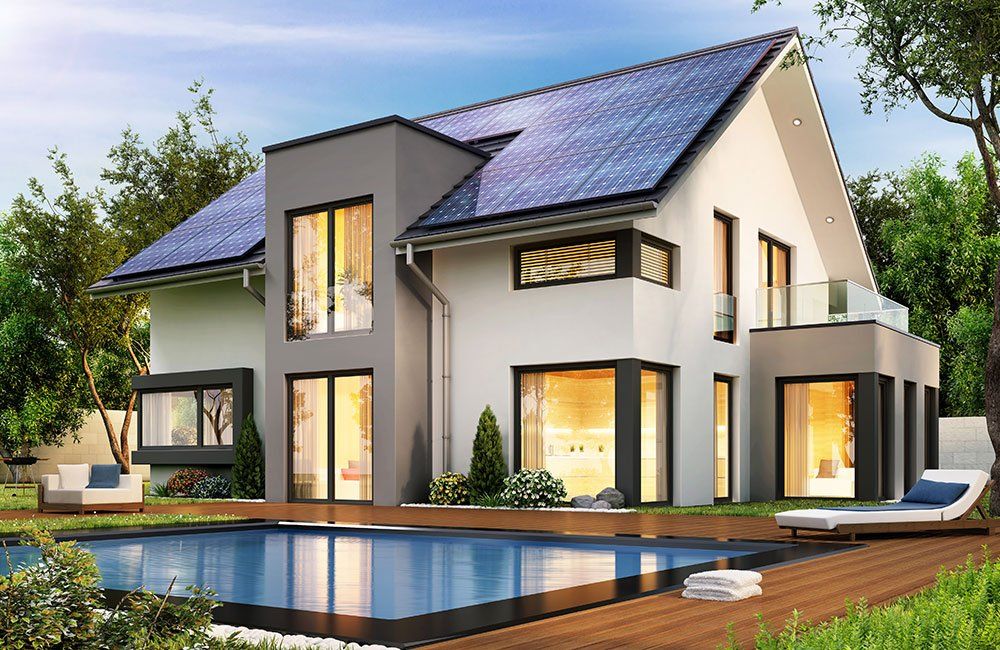
A solar power system consists of solar panels modules, a mounting system, a solar inverter with a computerized controller. The sun's energy is converted into DC electricity by solar panels.
A household can use this electricity by switching the generated electricity to AC via the inverter. Solar systems are managed by computerized controllers that ensure high efficiency. A battery is necessary if you want a battery backup system or an off-the-grid solar system.
Step By Step Process
How It Works
1
Install scaffolding
To begin with, we must fit a scaffolding in place to ensure our safety while being on the roof during the installation process. Although it may feel like a bit of a building site, it is all for a good cause!
2
Installing Solar Panel mounts
After that, we will begin installing the solar panel mounting system. The process will support the solar panels. The whole mounting structure must be tilted and angled between 18 and 36 degrees for maximum sunlight exposure. But don’t worry - we have this all covered!
3
Solar Panels are installed
The solar panel will be installed on the mounting structure as soon as the mounts are installed. Our team will ensure that all the screws and nuts are secure. We assure the panels are 100% stable for homeowners.
4
Solar Panels must be wired
Installing the electrical wiring is the next step in the installation process. Many solar panels use MC4 connectors since they are compatible with all types. We will have to turn off the household's electricity while wiring is being installed, but we will make sure to discuss this with you and when would be the best time to do this.
5
Solar Inverter
This step includes the solar inverter installation process. The panel is installed near the main service panel, and it can be both indoors and outdoors—the efficiency of an inverter increases in a cool environment. Inverters outdoors should be kept out of direct sunlight. It is usually best placed indoors in a garage or utility room since they are generally comfortable and have ventilation most of the year. We assure the homeowners approve the placement before installation.
6
Bond Solar Inverter & Solar Battery
The solar inverter and solar battery must then be connected. Using solar battery storage can save you from worrying about the lack of usable energy when it's cloudy, as well as lowering the costs of installing the solar battery storage system. We will always direct you in the way of the cheapest but most efficient price.
7
Connect the Inverter & Consumer Unit
To produce electricity, the inverter must be linked up to the consumer unit. In addition, a generation meter should be installed to monitor the amount of electricity produced by the solar panels. If you would like to monitor the performance of your solar system, you can do so on your computer or another device. We will be able to support you with this and direct you in the correct direction with wiring everything up. Depending on how much electricity you generate at different times, you can decide when to use your washing machine or other utilities.
8
Solar Panels should be started & tested
Installing the electrical wiring is the next step in the installation process. A large number of solar panels use MC4 connectors since they are compatible with all types. We will have to turn off the household's electricity while wiring is being installed, but we will make sure to discuss this with you and when would be the best time to do this.
Get Started

